This is perfect DIY for both experienced as well as new crocheters, make a trendy bohemian cushion, easily made in a few hours.

I mixed a few stitches, such as;
- single crochet
- half double and double crochet
- moss/linen stitches
- bobble stitches

This is perfect DIY for both experienced as well as new crocheters, make a trendy bohemian cushion, easily made in a few hours.
I mixed a few stitches, such as;

I’ve been making some cute spring cloths for the home, in light colors like offwhite and yellow. Crochetted in 100% cotton, therefore washable in machine so that they can be reused.

Yellow cloth: made of half double and single crochet stitches in a mix

White cloth: made of shell/mussles stitches

Here’s how to make a smart DIY toilet paper holder for tiny powder room or guest WC;
This is a perfect shelf for you phone while using the wc.
Example of handy toilet paper roll holders can be found on Amazon, Wayfair, Home Depot and Ikea.


Handcraft by Grip now presents handmade Dish cloths, crocheted by hand using cotton yarn. These dish and wash cloths can be washed and reused over and over again. Great when aiming for zero waste in the home. I make these as give aways to friends and family, and can also made to order in a variety of colors.
It is easy to make your own cloths, they can be made from many different stitches, and also in mix of stitches. Have a look at Instagram for inspiration.


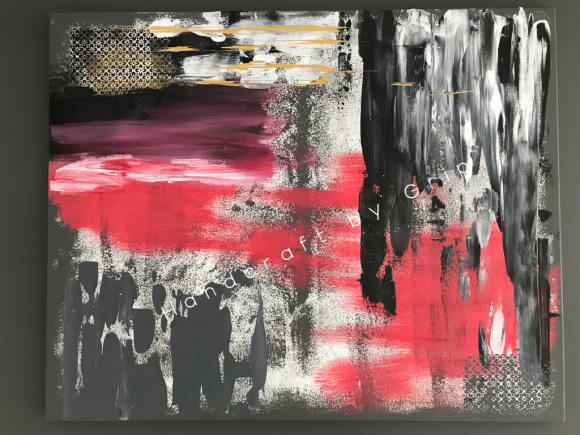
This year has started more creative than any other. I have just finished my first Abstract Art Painting, but I am working on a larger piece meanwhile.
This painting in grey, pink, black and white, with plashes of gold, is made of a canvas and hangs in my bedroom. The grey is of the same color as the bedroom wall.
A crocheted moderns granny blanket can be striped instead of made out of granny squares. Have a look at this colorful piece used on a sofa. It is made out of left over of yarn which has been used in other projects.
Wanna make one yourself? Tutorial here.
![]()
![]()

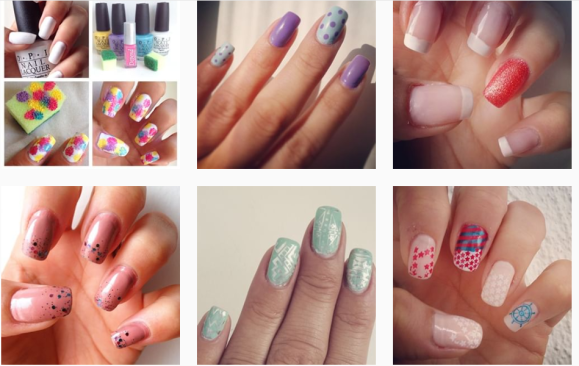
I welcome the spring with colorful nails in light colors. See more on Instagram #nailartbygrip
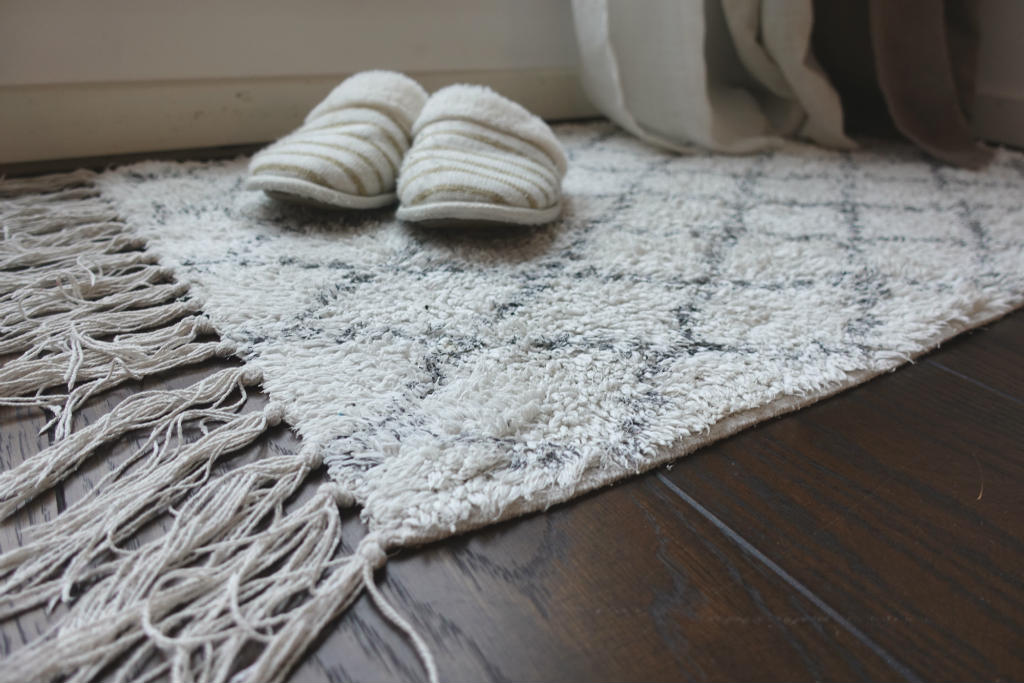
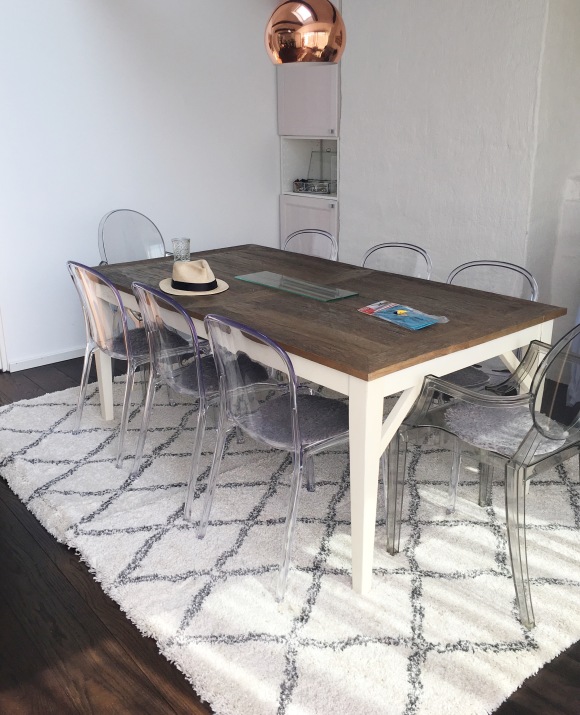
I find that this bathroom rug fit all type of rooms, I use it ant the exit to the outdoor terrace. It matches the living room rug nicely!
Check out my Instagram account Home Deco Grip for inspiration for the home. I focus a lot on Compact Living.

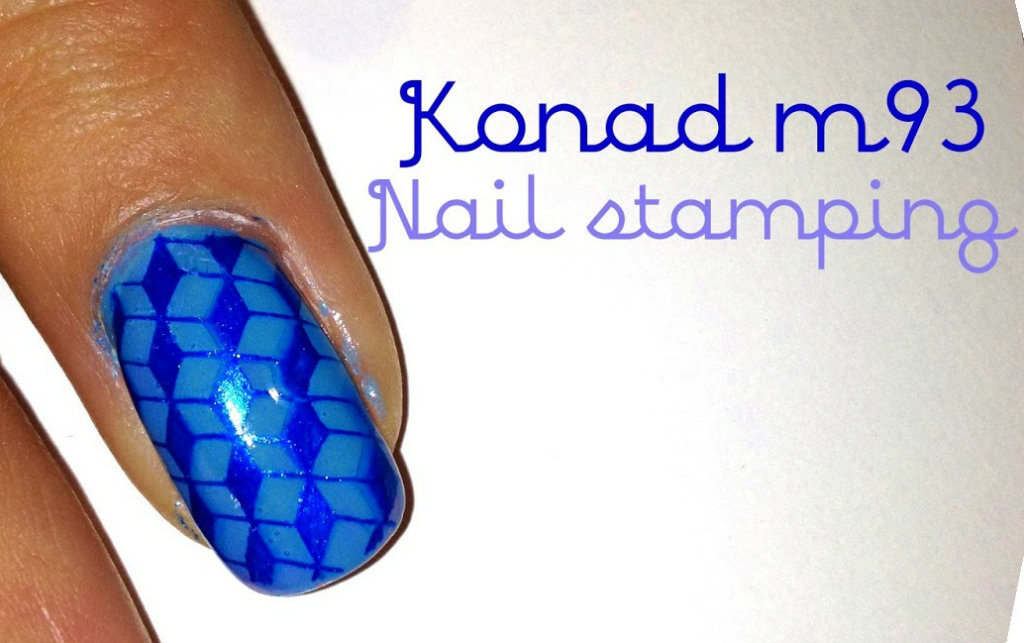

Nail stamping with Konad plates and polishes is good for beginners as well as pros. I believe their nail polishes takes a bit longer to dry which can be good when using them for stamping.
They sell lots of stuff for nail art, such as the specific nail polishes for stamping, regular polishes, nail art pens and even Gel.


To achieve gradient colors on nails, which are a perfect base for nail stamping, I am learning how to make ombré nails to perfection. You can also use this technique to get a nice french manicure.
